Getting started with Mosaic#
This tutorial will guide you through the first steps of using Plone Mosaic to create a custom page layout.
Prerequisites#
Before starting, ensure that Mosaic is installed and activated in your Plone site. See the Installation guide for details.
Step 1: Enable Mosaic layout#
Create a new Document in your Plone site.
Save the document.
In the toolbar, click on the menu and select Mosaic layout.
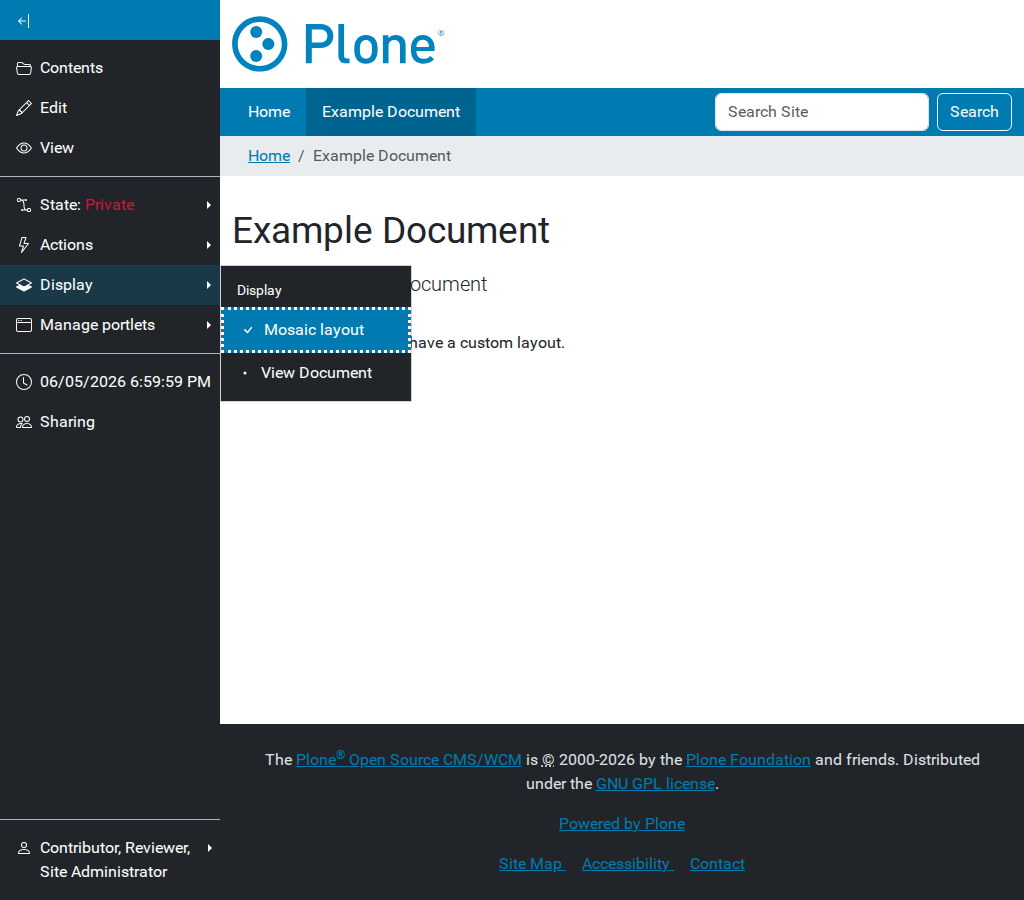
Selecting “Mosaic layout” from the Display menu.#
Your document is now using the Mosaic composition engine. By default, it will show the title and description.
Step 2: Open the Mosaic editor#
Click the Edit tab in the Plone toolbar.
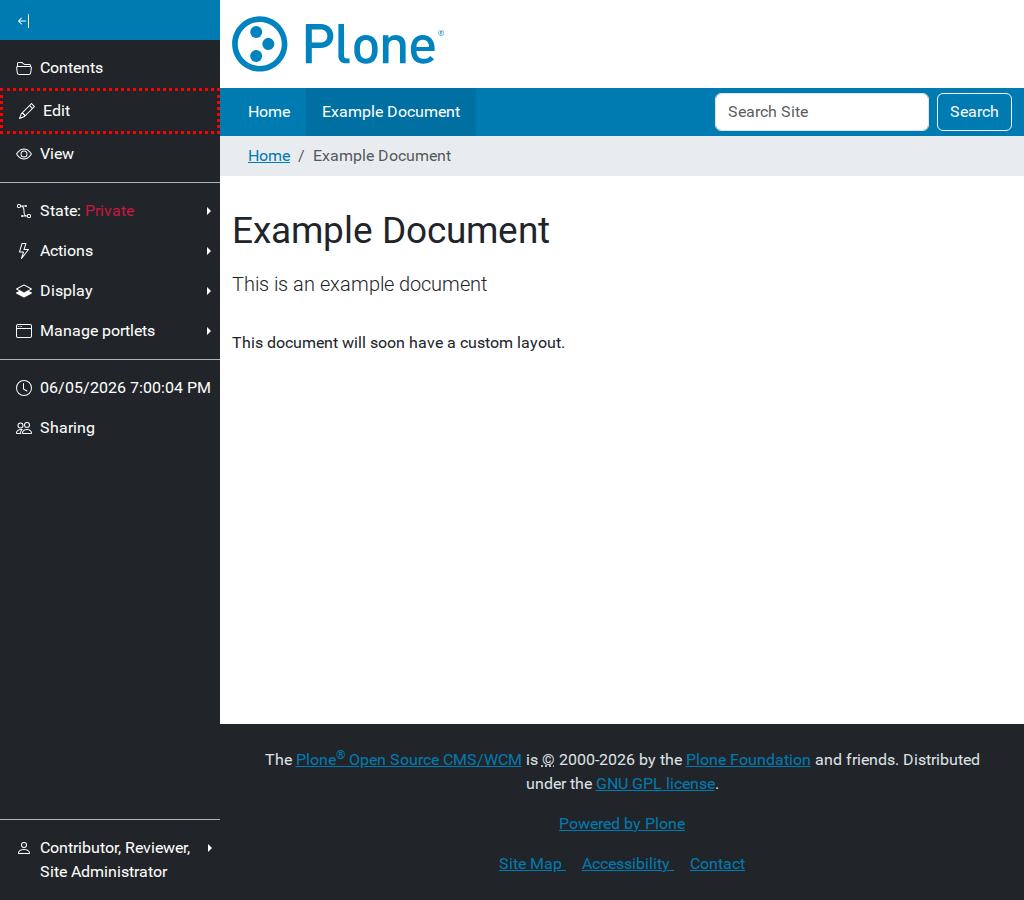
Opening the Mosaic editor.#
If this is the first time you’ve edited this page, you will be prompted to select an initial layout. Select the Basic layout.
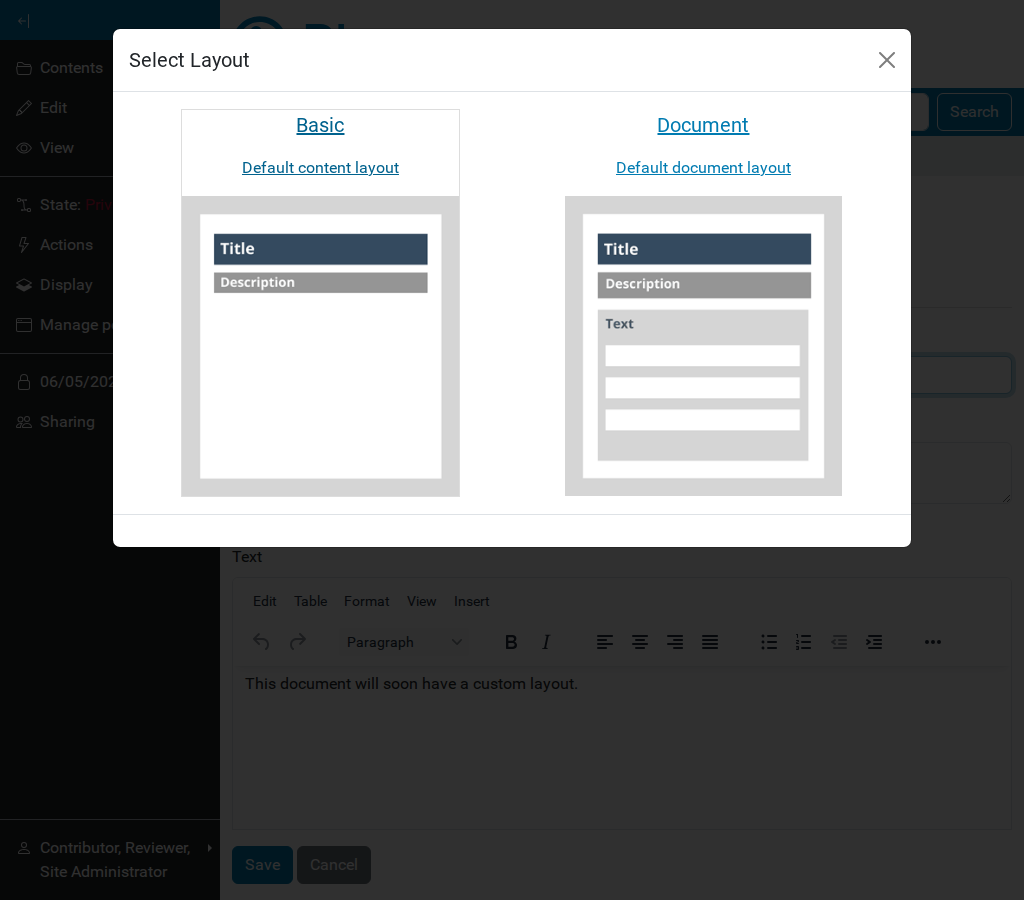
Selecting an initial layout.#
Step 3: Customize the layout#
The Mosaic toolbar appears at the top of the content area.
Click the menu and select Customize. This enables the and menus.
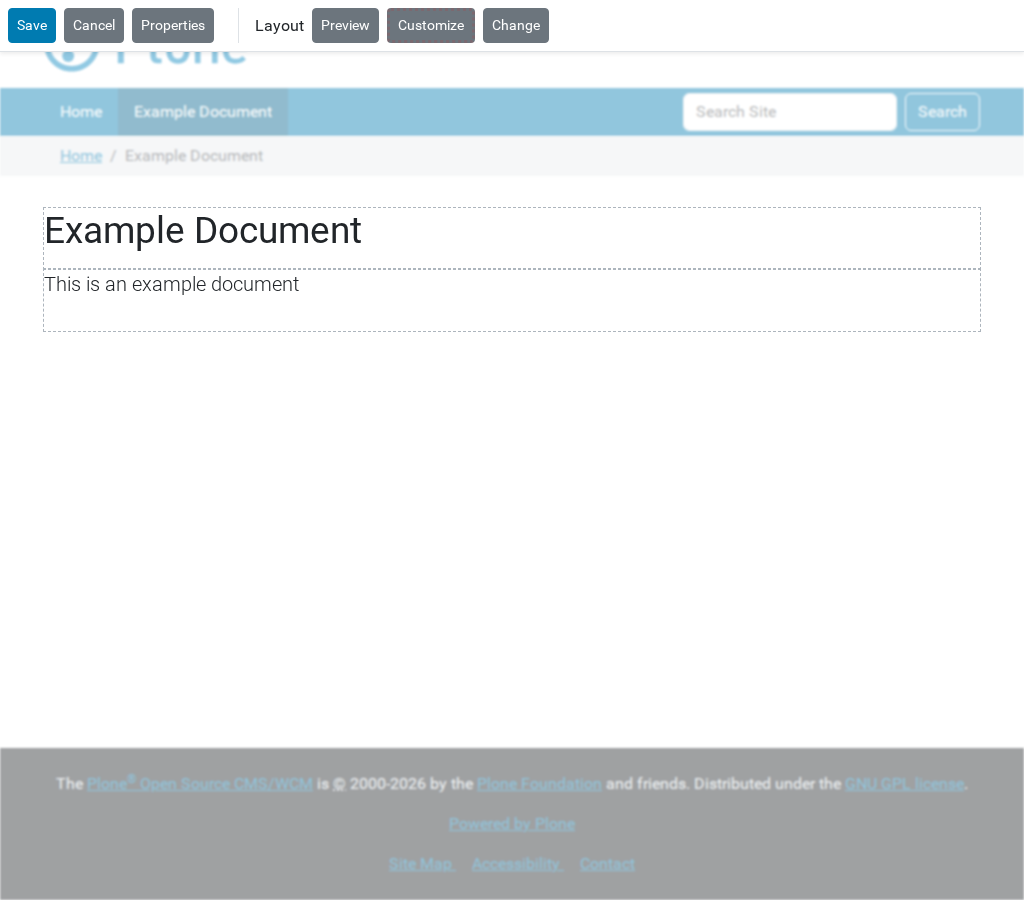
The toolbar after clicking “Customize”.#
Click the menu. You will see categories of tiles like Structure, Media, and Fields.
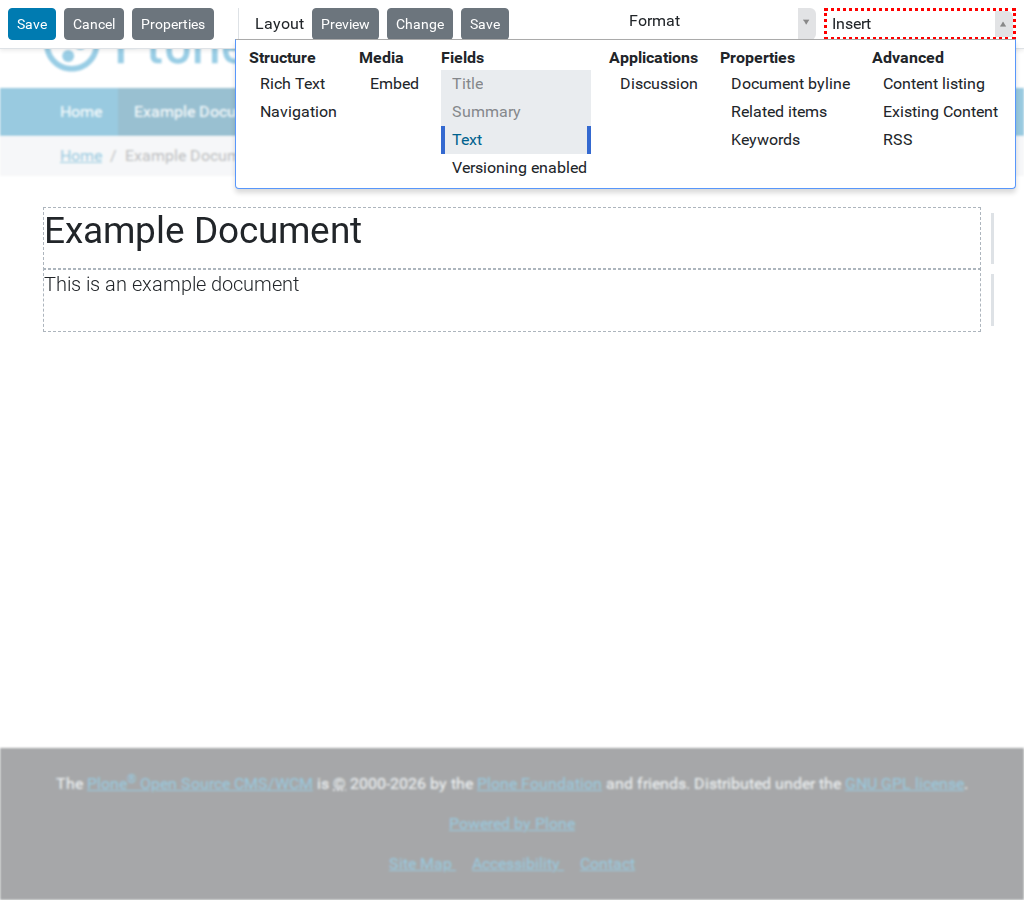
Available tiles in the Insert menu.#
Select a Text tile from the Structure category. It will appear as a draggable box.
Drag the tile to a new position on the page. Notice how potential drop zones highlight as you move.
Click to drop the tile.
Step 4: Save your changes#
Click the Save button in the Mosaic toolbar (not the Plone toolbar).
Congratulations! You have created your first custom page layout with Plone Mosaic.
Next steps#
Learn how to reuse this design by reading How to save a custom layout.
Explore more advanced tasks in the How-to guides.